
Free EU Shipping on Orders €200+ 🚚
Free EU Shipping on Orders €200+ 🚚
Free EU Shipping on Orders €200+ 🚚

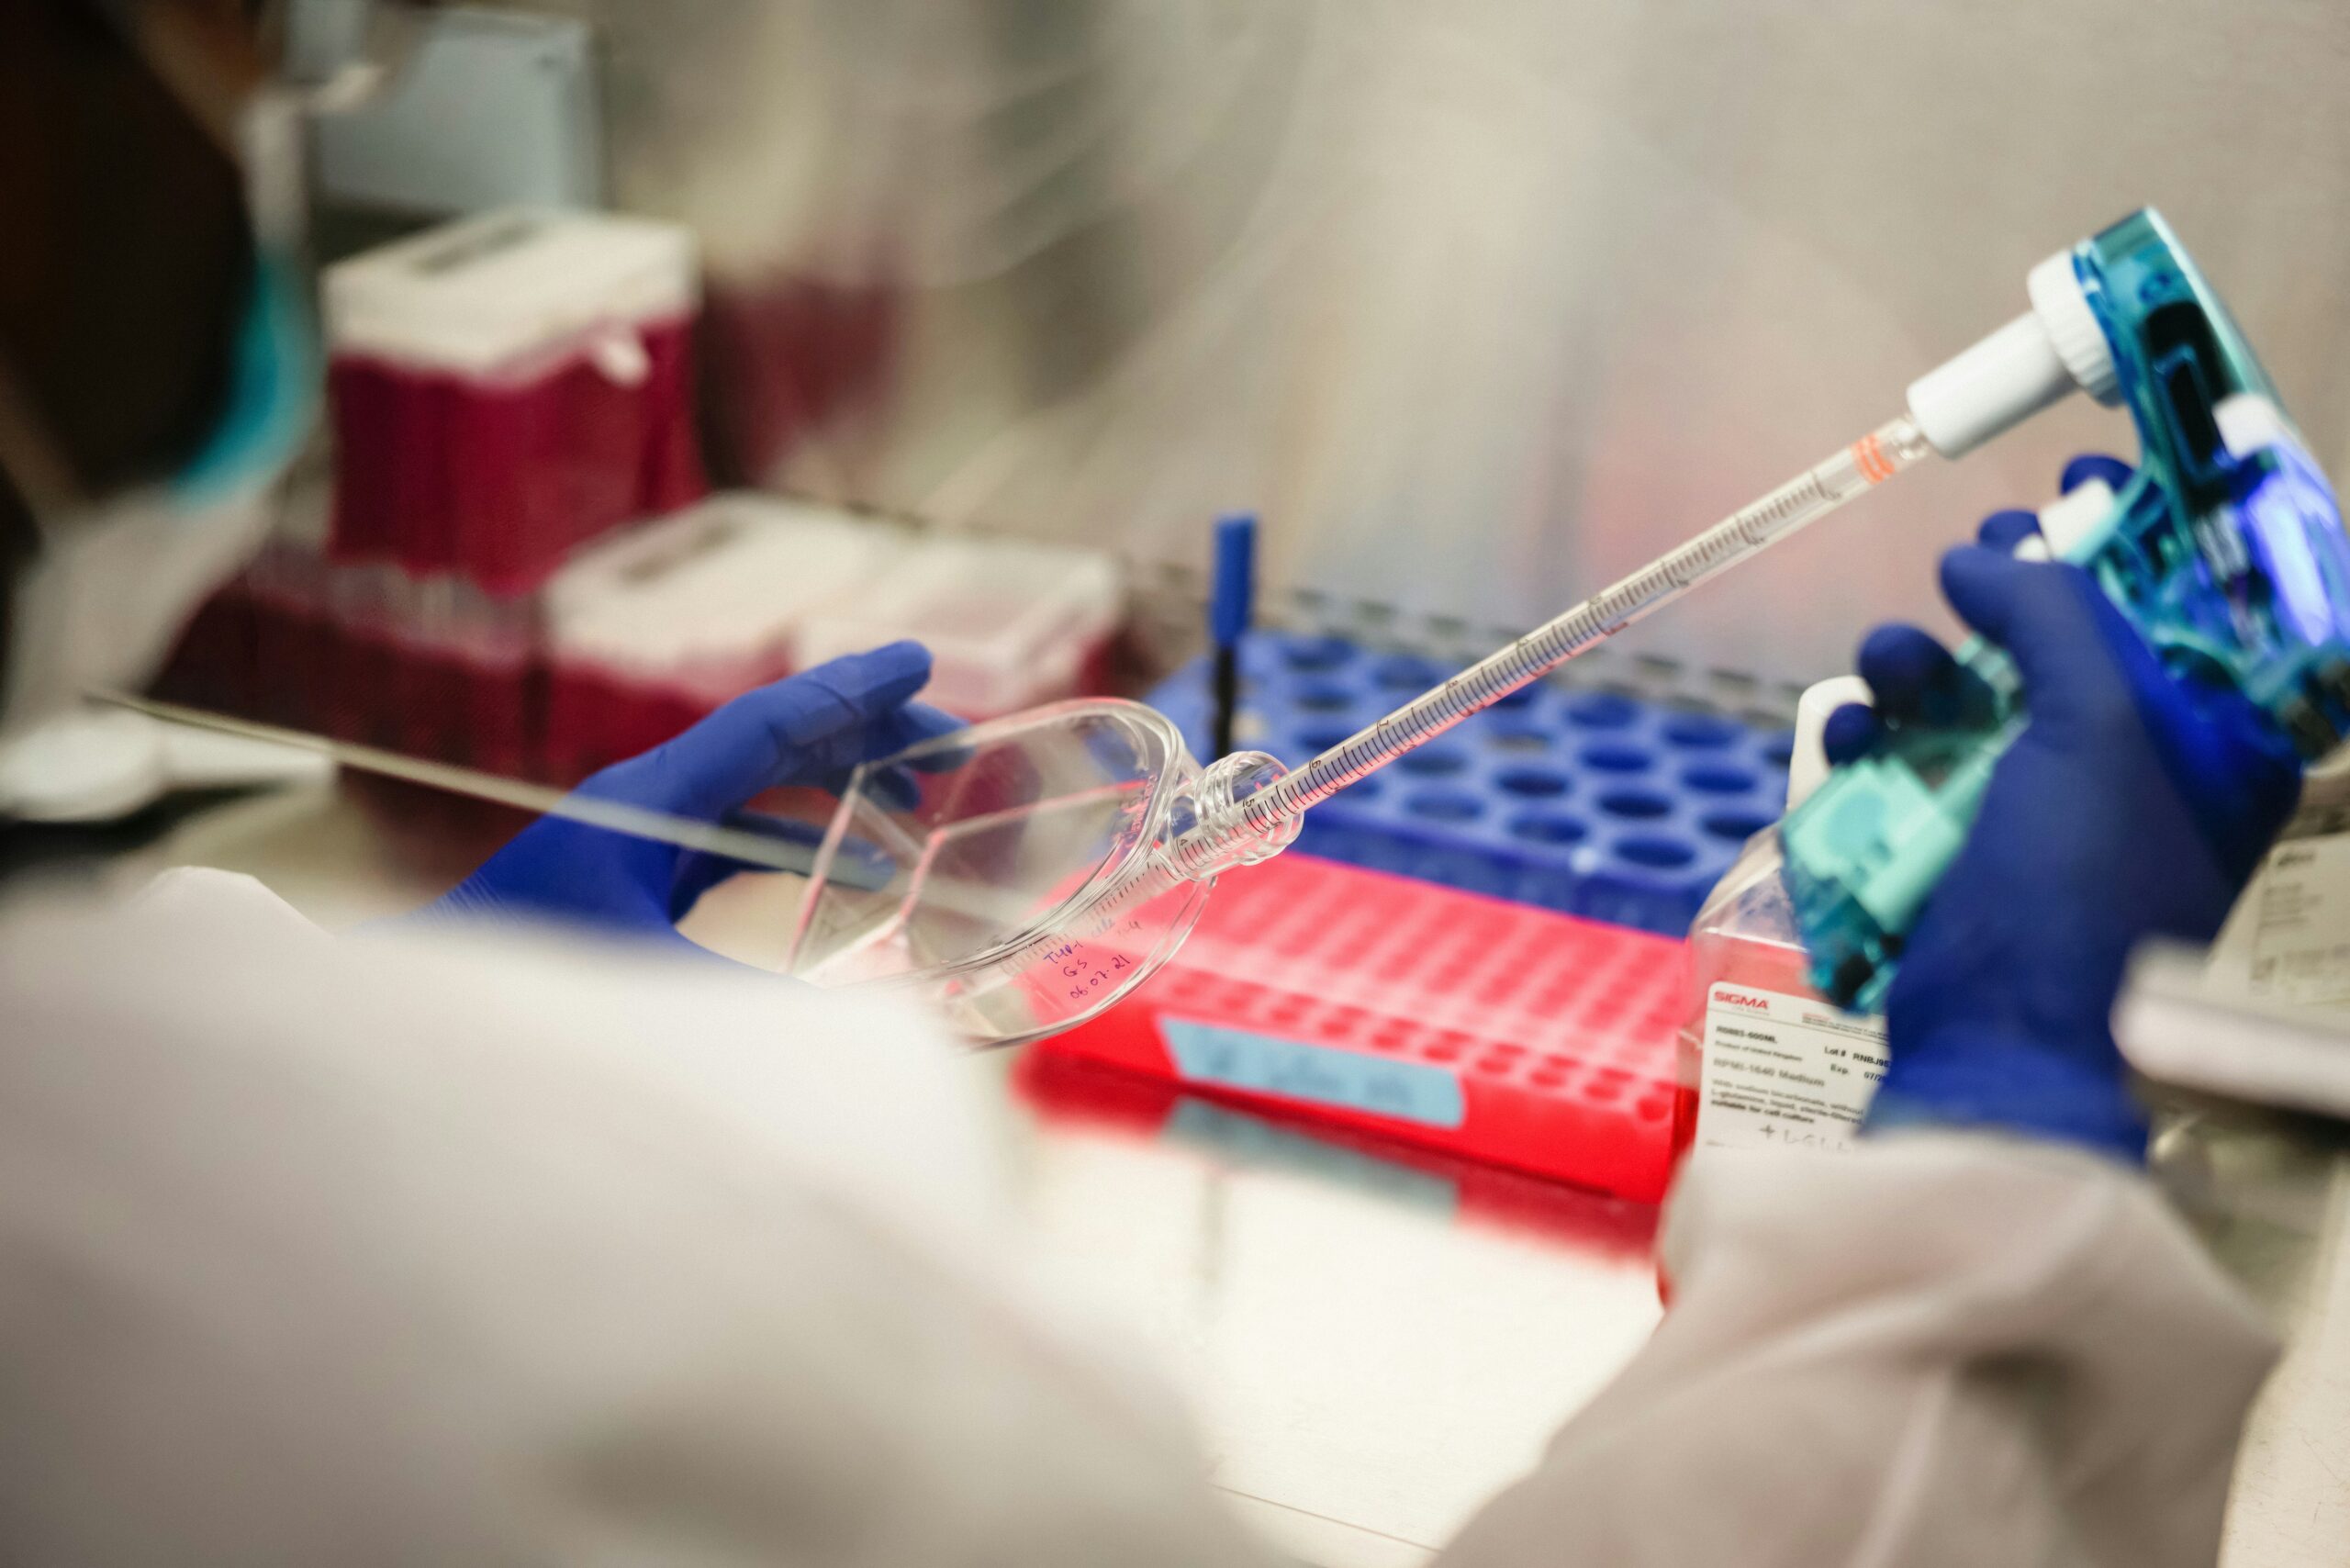

Precision is the undisputed heartbeat of any modern laboratory. Whether you are preparing cell culture media, layering gradients, or transferring key reagents, reliable tools protect your results.
At the absolute center of this daily routine is the serological pipette. As one of the most versatile and frequently utilized tools on the bench—especially the highly popular 25 ml serological pipette—these instruments ensure reliable, reproducible, and rapid volumetric transfers. Let’s dive into everything you need to know about them, from basic anatomy to advanced techniques.

What is a Serological Pipette?
A serological pipette is a slender, precisely graduated tube explicitly designed for transferring milliliter volumes of liquid. Mastering advanced volumetric liquid handling techniques relies heavily on understanding the subtle structural and material differences between your benchtop tools.
When outfitting a new workspace, laboratory managers often face a common debate: polystyrene vs glass liquid dispensers. Historically, glass was the standard. Glass tools offer excellent chemical resistance and reusability through rigorous washing and sterilization cycles.
However, modern high-throughput and biological laboratories heavily favor single-use, medical-grade polystyrene. Why?
Because disposable plastics remove tedious washing steps, they arrive ready to use from the manufacturer. They have strict non-pyrogenic and RNase-free certification. This is critical for sensitive molecular biology and cell biology assays.
Furthermore, newer lab technicians frequently ask, “are plastic pipettes autoclavable?” The answer is a definitive no for standard polystyrene—the high heat and pressure of an autoclave will melt them. If your protocol strictly demands autoclaving, reusable borosilicate glass is required.
However, modern cell culture workflows require full sample integrity without residue from past experiments.
So, scientists often rely on sterile serological pipettes. This shows the key functional difference between sterile and non-sterile lab pipettes.
Sterile pipettes come packaged for immediate aseptic use. Non-sterile pipettes are usually used for basic chemistry or training. In these settings, biological contamination is not a main concern.
Finding the Right Size: From 1 ml to 100 ml
These pipettes come in an impressive array of volumes to suit virtually every experimental need. Universally recognized, color-coded pipette graduation marks make it easy to spot the right size quickly.
This helps during fast-paced protocols. This brilliant standardization saves valuable time and drastically reduces the risk of accidental volume swapping.
Standard Volume Categories
- Small Volumes (Yellow and Green Bands): The 1 ml serological pipette and the 2 ml serological pipette (also commonly listed in supplier catalogs as the 2ml serological pipette) are ideal for highly delicate operations. These include supplementing basal media with tiny doses of antibiotics, adding growth factors, or creating precise serial dilutions.
- Medium Volumes (Blue and Orange Bands): The 5 ml serological pipette and the 10 ml serological pipette are the daily workhorses for intermediate tasks. You will often use these when you divide biological buffers into smaller portions.
- You will also use them when you feed small cell cultures.
- You can use them when you passage cells in multi-well plates.
- Large Volumes (Red, Purple, and Pink Bands): The undisputed king of the tissue culture hood is the 25 ml serological pipette. It is perfectly sized for resuspending large cell pellets, transferring media into standard T-75 flasks, and pooling fractions. When transferring large amounts of reagents, use a 50 ml serological pipette.
- Use it when filling large media bottles.
- You can also use a larger 100 ml serological pipette.
Choosing the right size is the foundational first step in reducing errors in volumetric measurements. A core rule of laboratory science is to always select the smallest capacity tool that can easily accommodate your desired volume in a single, continuous transfer.
For example, when scientists use a 50 ml or 100 ml tool to prepare media, they must look at the larger meniscus. They should adjust their eye level to avoid parallax errors. These errors are often magnified with larger diameters.

Core Anatomy and Essential Features
To truly grasp how to use a serological pipette correctly, you must first understand the intricate details of its anatomy. They are far more than just empty plastic tubes.
The Graduations
Most high-quality models feature both positive and negative graduations. Positive graduations show the exact volume of liquid dispensed as it flows out of the tip. Conversely, negative graduations, also called reverse graduations, help measure liquid pulled past the zero mark at the top. This grants valuable extra capacity, meaning a 10ml tube might actually be able to hold 13ml safely.
The Protective Filter
Look closely at the top mouth of a quality tube, and you will spot a small, dense white barrier. This is the cotton plug aerosol barrier. It actively prevents microscopic liquid droplets and harmful vapors from traveling upward and entering your electronic controller’s internal mechanics. This seemingly simple feature plays a massive, irreplaceable role in preventing cross contamination in cell culture.
Dispensing Calibration
It is important to clearly understand how a blow-out pipette differs from a to-deliver (TD) pipette.
You should know what each one is designed to do. Most modern serological models are mathematically calibrated as “To Deliver/Blow Out.” This calibration means that to reach the exact volume printed on the tube, you must expel the final drop.
Use your controller’s motor to push out the last drop left in the tip.

Step-by-Step Guide: Operating the Pipette
Proper bench technique is essential for ensuring both volumetric accuracy and overall laboratory safety. Here is a comprehensive step-by-step guide on how to seamlessly execute aseptic liquid transfer protocols.
- Set Up the Controller: Knowing precisely how to use electronic pipette controllers (often affectionately called “pipette guns” by lab technicians) is a mandatory skill. First, insert the top end of the tube securely into the controller’s silicone nose cone. Be firm but gentle; pushing too aggressively can easily crack the polystyrene top, rendering it useless.
- Pre-Wetting the Tip: Before making your final volumetric transfer, it is often highly recommended to pre-wet the inside of the tube by aspirating and dispensing the liquid back into the source vessel once. This equilibrates the internal surface tension and temperature, ensuring that the final volume delivered is as accurate as mathematically possible.
- Aspirate the Liquid: Submerge the tip just below the surface of your source liquid. Gently press the upward aspirate trigger on the controller. Draw the liquid slowly and steadily until the fluid level rises slightly above your target graduation mark.
- Adjust the Meniscus: This is where true precision is achieved. To know exactly how to read serological pipette meniscus, you must bring the tube up to your natural eye level. Looking at an angle will cause a parallax error. Slowly release the liquid.
- Stop when the bottom of the meniscus just touches the top edge of the target graduation line.
- Transfer and Dispense: Carefully move the tool to the receiving vessel, ensuring the tip does not touch any non-sterile surfaces along the way. Press the downward trigger to dispense the fluid. Because these are generally blow-out tools, use the controller’s motor or gravity-blow-out function to force out that last stubborn drop.

Best Practices for Precision, Safety, and Compliance
Even with the highest quality equipment in your hands, human error can quickly compromise your experimental data. Consistently adhering to strict laboratory liquid handling accuracy standards ensures your results remain highly reproducible over time.
- Maintain Verticality: Always hold the instrument as vertically as possible (at a perfect 90-degree angle to the bench) during both aspiration and dispensing. Tilting the instrument dramatically alters the meniscus reading geometry and introduces significant volume errors.
- Control Your Pacing: Never rush the liquid handling process. Rapid, aggressive aspiration can easily cause liquid to shoot upward and permanently saturate the internal cotton plug. Once that plug gets wet, the airflow is entirely blocked, and the tool becomes completely non-functional. Worse, a compromised plug risks directly contaminating the electronic controller body.
- Aseptic Handling Discipline: Never touch the lower half of the tube with your gloved hands. When opening the protective wrapper, peel the paper back from the top end just enough to attach the controller securely. Only after it is properly attached should you slide the wrapper off completely.
- Proper Storage: When not in active use, ensure your stock is securely stored in a cool, dry place away from direct ultraviolet light, which can degrade the polystyrene over time. Keep the wrappers completely intact until the exact moment of use to thoroughly preserve their sterile integrity.
Conclusion
From the highly delicate handling of a micro-vessel using a 1 ml tube to the rapid bulk transfer capabilities of a 25 ml serological pipette, these instruments are undeniably indispensable in modern science. By learning their basic anatomy, mastering electronic controllers, and reading the meniscus correctly, you improve your daily benchwork quality. Treat your volumetric tools with absolute respect, and your experiments will consistently reward you with unparalleled accuracy.